
 for Raspberry Pi Zero Boards, Provides 5V Uninterruptible Stable Power with Pogo Pin Connector")
UPS HAT (C) for Raspberry Pi Zero Boards, Provides 5V Uninterruptible Stable Power with Pogo Pin Connector
$29.00


Price: $29.00
(as of Oct 30, 2025 04:10:23 UTC – Details)
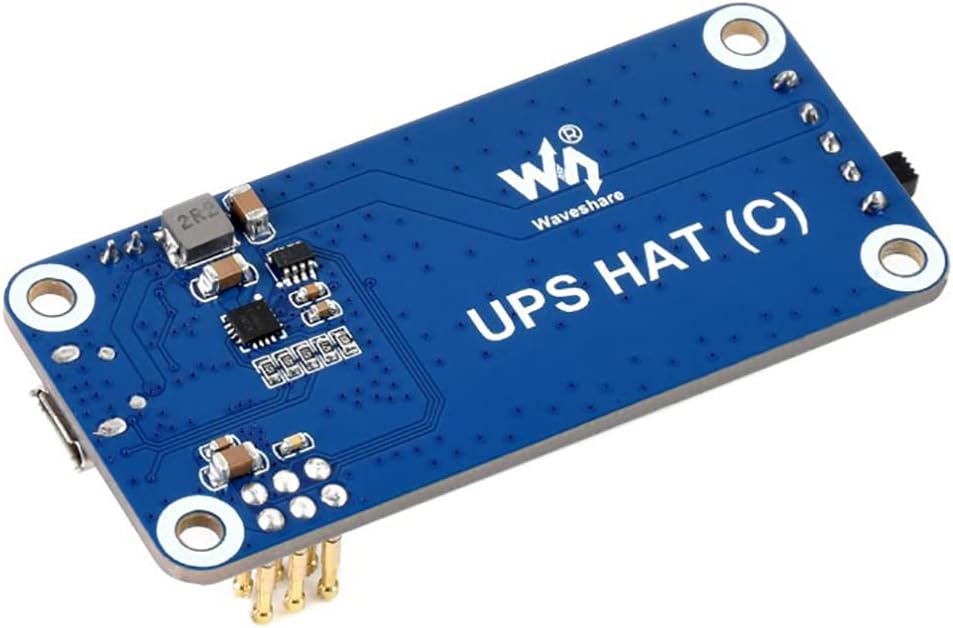
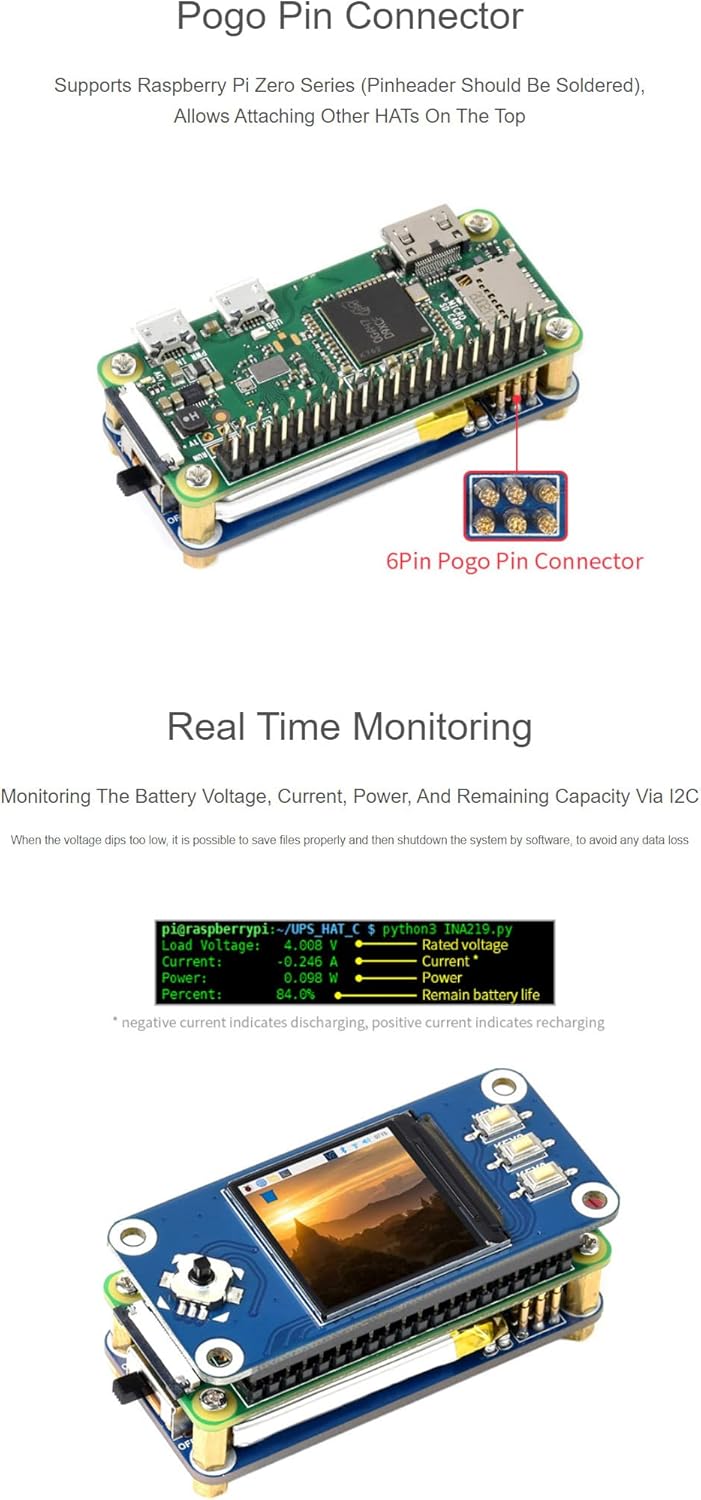
Onboard spring pogo pins for connecting for Raspberry Pi Zero series boards
Voltage boost chip, providing regulated 5V power output
Li-po battery recharge chip, with dynamic path management, more stable power supply
I2C bus communication, monitoring the battery voltage, current, power, and remaining capacity in real time
Multi battery protection circuits: over charge/discharge protection, over current protection, and short circuit protection, more safe and stable; Recharging indicator for monitoring the battery operating status
Customers say
Customers give mixed feedback about the UPS’s functionality. The battery life receives mixed reviews, with one customer reporting about 3-5 hours of charge. The power connector receives negative feedback, with one customer noting that the JST battery connector is wired backward.
8 reviews for UPS HAT (C) for Raspberry Pi Zero Boards, Provides 5V Uninterruptible Stable Power with Pogo Pin Connector
Add a review
Related Products


$29.00
Devin Stark –
Pwnagotchi
Works great for pwnagotchi 2025
Nicholas D. –
Does its job
Works great, gets about 3-5 hours of charge for portable projects depending on temperature.
Joseph Ses –
Dangerous, Please read if using this for education.
I ordered this UPS HAT with the intention of using it in a Raspberry Pi project. As soon as I plugged in the battery (the battery provided with the board), the board immediately became hot enough to cause a blister within seconds. I disconnected the battery right away, but I shudder to think what could have happened if I hadnât been watching closely.The polarity on the JST connector appears to be backward, which is a known but unacceptable issue in cheap boards like this. There was no warning, no fail-safe, and no protection circuitry to prevent overheating or shorting.What if this had been a child? A beginner? Someone who plugged it in, set it down, and started reading the instructions? They couldâve walked away and come back to a lithium battery fireâa fire you cannot extinguish with water, and one that grows explosively.This product is dangerously flawed. It should not be sold without proper QC, safety features, or even a basic polarity check. Iâve initiated a return, and I strongly urge others to avoid this board unless you are prepared to diagnose and repair it yourselfâand even then, itâs not worth the risk.
MakingThingsShow –
Functional is not a key factor for this device
Where did my pi go, oh it restarted again. Why is the battery discharging when it is plugged into my laptop. Shutdown pi, why is my sensor still on 5 minutes later. Can only be powered from ups usb or ups doesn’t work. I don’t plan on using any usb ports. No power solder points on ups hat. This thing kind of sucks
RAD in Maple Valley –
No documentation
Haven’t had a chance to try it, may revise my four stars when I do. Looks like a quality product. Zero documentation. This Amazon listing is all you get. Don’t know when/why you would use the switch. Don’t know if the chg LED goes out when it’s charged. I guess I’ll find out.
Lee –
works
It dose the job, you can use your pi and charge this at the same time, i suppose you could charge it with a solar panel and use the pi as a security camera.
Jake Schlinkmann –
It comes with a battery!
I bought a battery since none of the product description mentioned it coming with one.. but it came with one, so now I have a spare!
Paedagogus –
FIRE HAZARD! Burn Warning!!
As mentioned by another reviewer, the JST battery connector is wired BACKWARD. The red wire should go to the side of the connector with a (+) printed on the circuit board. If you hook this up as shipped YOU WILL BURN YOURSELF INSTANTLY! I bought two of these and they are both wrong! To fix this, you must carefully pry the plastic tab back while pulling on the wire then re-insert them into the connector the correct way. Chances are you will bend the plastic too far, and it wonât hold the wire any more. Just push on the plastic tab back down the best you can and put a drop of super glue on it.